


Tesla touchscreen replacement demands specialized knowledge of hardware like LCD/OLED displays, computer modules, sensors, and cameras. Gather tools including suction cup, heat gun, spudger, protective gear, and a new assembly. Ensure proper screwdrivers for your model. Precise preparation and care avoid further auto body repairs; consider DIY or professional services for best results.
Considering a DIY Tesla touchscreen replacement? This comprehensive guide is your go-to resource. Before you begin, understand the intricacies of your Tesla’s touchscreen system and gather the essential tools and materials for a successful installation. We break down the process into simple, step-by-step instructions to ensure a smooth replacement. From disassembling the old screen to integrating the new one seamlessly, learn everything you need to know about replacing your Tesla’s touchscreen.
- Understanding Your Tesla's Touchscreen: A Primer
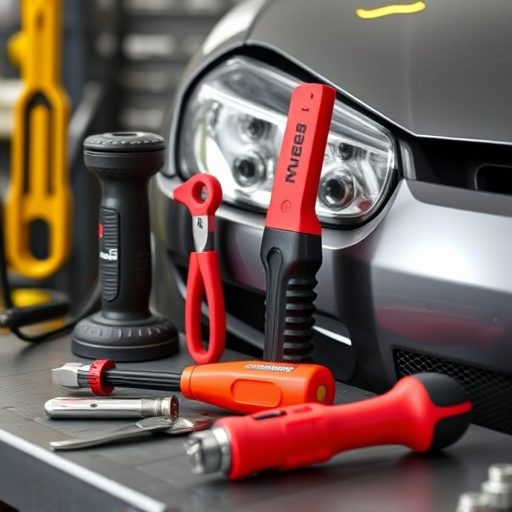
- Tools and Materials Needed for Replacement
- Step-by-Step Guide to Installing a New Touchscreen
Understanding Your Tesla's Touchscreen: A Primer

Every Tesla owner knows that the car’s touchscreen is the command center for climate control, navigation, and entertainment. Understanding how it works is key when considering a DIY Tesla touchscreen replacement. Unlike traditional infotainment systems, Tesla’s interface is seamlessly integrated into the vehicle’s software architecture. This means any replacement must be a precise fit, both physically and technologically.
Before attempting a do-it-yourself repair, familiarize yourself with the internal components of the touchscreen. The display itself is usually a high-resolution LCD or OLED panel connected to a powerful computer module that processes information. Additionally, sensors and cameras are integrated for gesture recognition and facial authentication features. A thorough understanding of these elements will make your Tesla touchscreen replacement process smoother and ensure you’re equipped to handle any challenges that may arise during the repair, even if you opt for assistance from a reliable auto body repairs shop near me.
Tools and Materials Needed for Replacement

Before taking on a Tesla touchscreen replacement, gather all necessary tools and materials to ensure a smooth and successful process. For this DIY project, you’ll require specialized equipment including a suction cup tool, heat gun, spudger (a thin, flat tool with a plastic edge), and a new touchscreen assembly. Don’t forget protective gear like gloves and safety glasses. Additionally, having a set of screwdrivers that fit the Tesla model you’re working on is crucial for accessing the internal components safely.
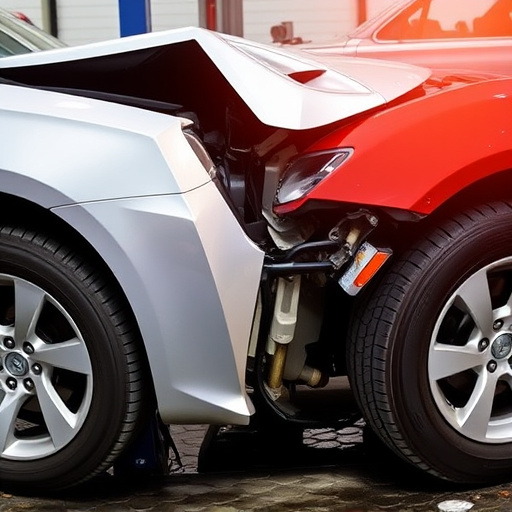
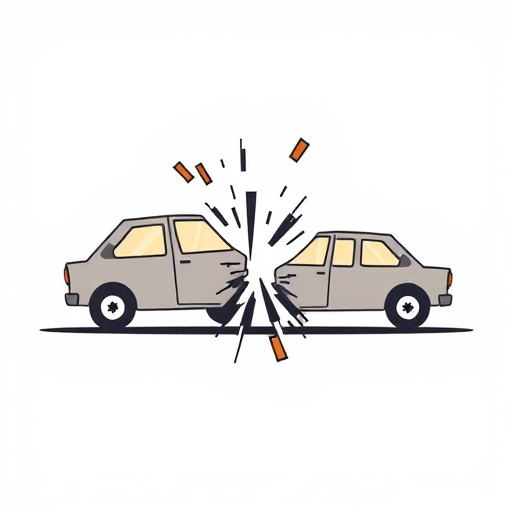
While a fender bender or minor car dent repair might be tempting reasons to attempt this replacement, it’s important to note that precision and care are paramount. Mistakes during disassembly could lead to further auto body repairs. Therefore, only proceed if you’re confident in your abilities and have the right tools at hand, allowing you to make clean cuts, carefully heat up adhesive, and precisely align the new touchscreen without causing damage to other parts of your Tesla’s interior.
Step-by-Step Guide to Installing a New Touchscreen
Installing a new Tesla touchscreen involves a meticulous process that requires both technical skill and precision. Begin by preparing your workspace; lay out all necessary tools and parts, ensuring your safety by wearing protective gear. Next, power down and disconnect the vehicle, creating a secure environment for the replacement. The screen is then carefully removed, often involving detaching cables and screws, with special consideration given to aligning and fitting the new touchscreen precisely.
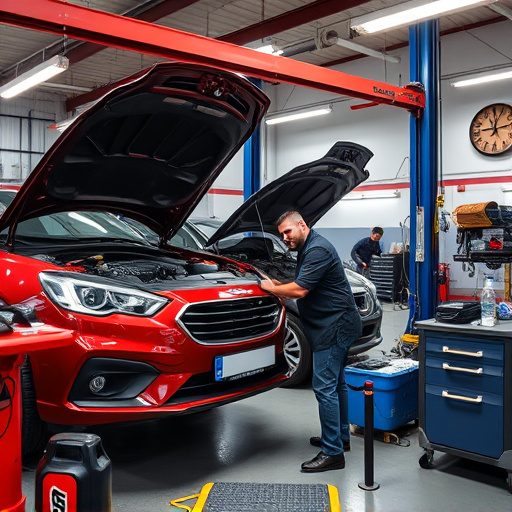
This crucial step demands attention to detail; misalignment can impact functionality. Once in place, reattach the cables, ensuring each connection is secure. After double-checking the setup, power on the vehicle to test the functionality of the new touchscreen. If all functions operate as expected, you’ve successfully completed a Tesla touchscreen replacement, demonstrating your DIY capabilities and potentially saving costs on vehicle collision repair at an auto body shop.
Upgrading your Tesla’s touchscreen is an achievable DIY project with the right knowledge and tools. By understanding your vehicle’s system, acquiring essential tools and materials, and carefully following a step-by-step guide, you can successfully install a new touchscreen, enhancing your Tesla’s functionality and extending its lifespan. Remember, a DIY approach to Tesla touchscreen replacement empowers car owners to take control of their vehicle’s upgrades, potentially saving costs and fostering a deeper connection with their electric vehicle.