


Tesla owners facing touchscreen issues should understand potential causes, from regular wear to software glitches. Replacement involves careful disassembly, precise cutting of a new screen, reassembly, and testing. An automotive body shop ensures expert installation and seamless functionality. Regular software updates and gentle cleaning maintain the replacement's longevity and performance, optimizing the Tesla touchscreen replacement experience.
Looking to replace your Tesla Model S, 3, X, or Y’s touchscreen? You’ve come to the right place. Understanding and addressing Tesla touchscreen failure is crucial for maintaining your vehicle’s functionality and enjoyment. This comprehensive guide breaks down the process step-by-step, from diagnosing the issue to ensuring proper aftercare. Learn how to effectively replace your Tesla’s touchscreen with expert tips and tricks, tailored specifically for these popular models.
- Understanding the Tesla Touchscreen Failure
- Steps for Replacing Your Tesla's Touchscreen
- Aftercare and Maintenance Tips
Understanding the Tesla Touchscreen Failure

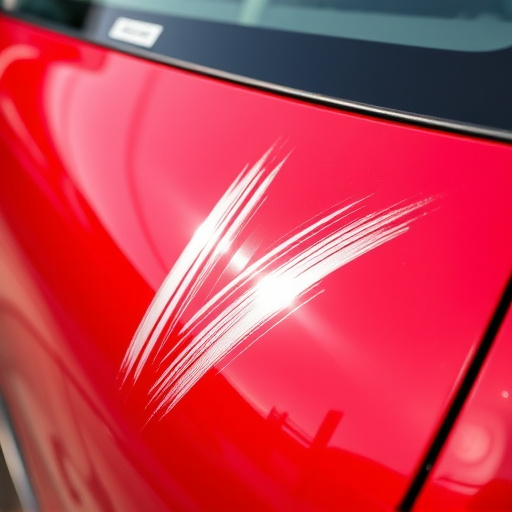
Tesla vehicles are renowned for their cutting-edge technology, but like any complex system, the touchscreen in Tesla models isn’t immune to failure. When your Tesla Touchscreen replacement becomes necessary, it’s crucial to understand the potential causes behind this issue. Common factors contributing to touchscreen failure include regular wear and tear, accidental damage, software glitches, or even compatibility problems with updated firmware versions.
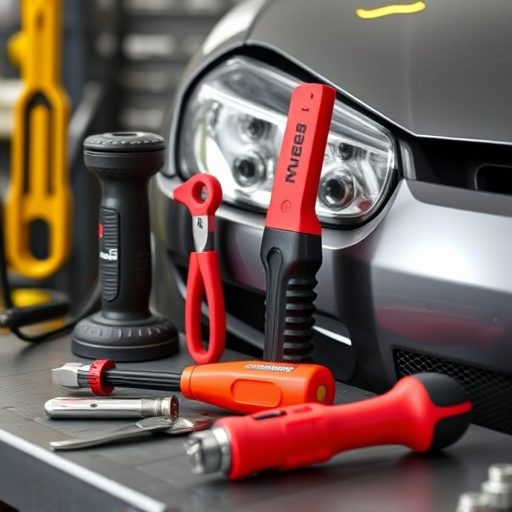
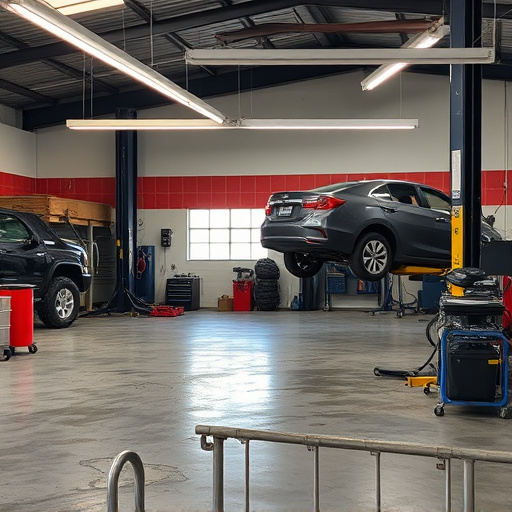
Many owners might consider visiting a reputable automotive body shop or collision repair center for a Tesla touchscreen replacement. These professionals have the expertise and specialized tools required to diagnose and fix the problem effectively. From assessing the extent of damage to installing a compatible, high-quality replacement unit, a well-equipped shop can ensure your Tesla’s touchscreen functions seamlessly once again.
Steps for Replacing Your Tesla's Touchscreen

Replacing your Tesla’s touchscreen involves a few precise steps to ensure a successful and seamless installation. Start by powering down your vehicle and disconnecting the battery for safety reasons. Then, locate the old touchscreen, which is usually held in place by clips or screws along the edges of the dashboard. Next, carefully remove the surrounding panels and components to gain access to the touchscreen.
Once exposed, gently unplug the connectors and wiring harnessed linked to the old unit. After disassembly, measure and cut a new touchscreen to fit your Tesla model perfectly. Ensure it aligns precisely with the vehicle’s design. Finally, reattach all removed panels, secure the new touchscreen in place, reconnect the wiring, and test the functionality. This process requires careful attention to detail but can be accomplished by an experienced automotive body shop or car body shop professional.
Aftercare and Maintenance Tips

After successfully installing a new Tesla touchscreen, proper aftercare and maintenance are crucial to ensure longevity and optimal performance. Regularly updating your vehicle’s software through the over-the-air (OTA) feature is essential, as it not only enhances overall functionality but also improves security patches and bug fixes. This simple step can significantly contribute to keeping your touchscreen up-to-date with the latest Tesla innovations.
Additionally, maintaining a clean and dust-free screen is vital for both aesthetics and performance. Use a soft microfiber cloth and slightly dampened isopropyl alcohol to gently wipe down the display regularly. Avoid aggressive cleaning methods or harsh chemicals, as these can damage the sensitive components of your touchscreen. Regular care will not only preserve the life of your replacement Tesla touchscreen but also ensure you get the best possible experience from your upgraded vehicle.
Replacing a Tesla touchscreen is now simpler than ever, thanks to accessible DIY kits and clear, detailed guides. By understanding common failure points and following straightforward steps, owners of Model S, 3, X, and Y vehicles can efficiently address this issue. Remember, proper aftercare and regular maintenance are key to prolonging the life of your Tesla’s touchscreen, ensuring a seamless and enjoyable driving experience. For all things related to Tesla touchscreen replacement, these tips and tricks will serve as a valuable resource.