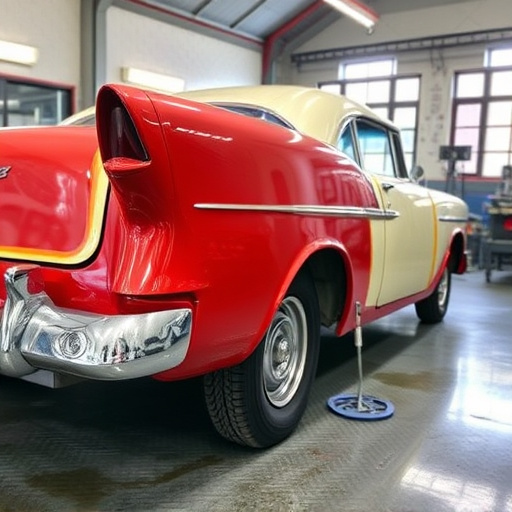


Tesla touchscreen replacements are crucial for fixing functionality issues like glitches and damage. Choosing genuine OEM parts or certified aftermarkets ensures compatibility. While DIY installation is possible, professional auto body repairs specialists offer better alignment and connection. This guide provides a detailed step-by-step process for replacing Tesla touchscreens, focusing on tools, preparation, installation, and function testing.
Looking to restore control over your Tesla’s apps and media? This comprehensive guide is tailored for owners navigating Tesla touchscreen failure. We’ll walk you through understanding common issues, sourcing compatible replacement parts, and a step-by-step installation process. By the end, you’ll be back to enjoying seamless access to music, navigation, and more on your Tesla’s touchscreen.
- Understanding Tesla Touchscreen Failure
- Sourcing Compatible Replacement Parts
- Step-by-Step Guide to Installation
Understanding Tesla Touchscreen Failure

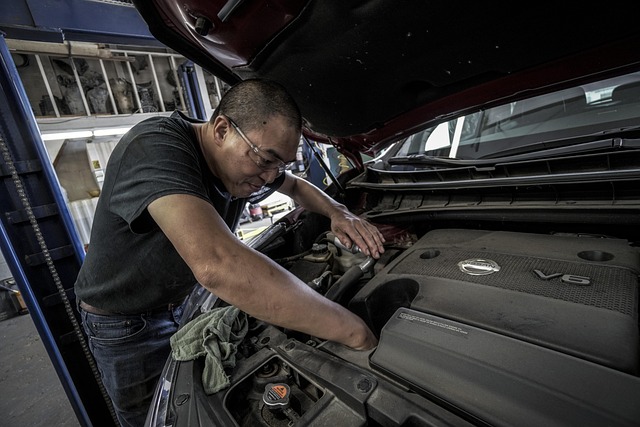
Tesla touchscreens are integral to the vehicle’s functionality, providing drivers with easy access to essential features like navigation, media control, and climate settings. However, over time, these screens can fail due to various reasons, from physical damage to software glitches. Understanding Tesla touchscreen failure is crucial for both owners and auto body repairs specialists. Common issues include dead pixels, screen flickering, and app crashes, which may be caused by hardware problems such as a faulty cable or sensor, or software corruption that requires a Tesla touchscreen replacement.
Regular maintenance can help prevent some failures, but it’s essential to recognize when a repair is needed. If your Tesla’s touchscreen exhibits unexpected behavior like freezing, prolonged boot times, or persistent app crashes, it may be time for an expert to assess the situation. Auto body repairs professionals equipped with specialized tools and diagnostic software can pinpoint issues, whether it’s a simple dent repair or a more complex replacement of worn-out components, ensuring your Tesla retains its functionality and optimal performance.
Sourcing Compatible Replacement Parts
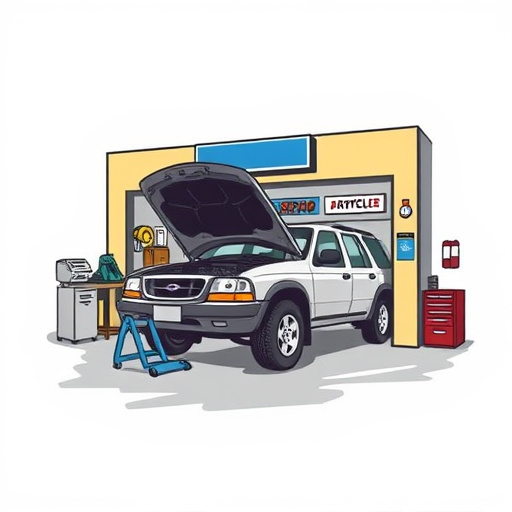
When it comes to sourcing compatible Tesla touchscreen replacements, it’s essential to understand that not all parts are created equal. With advancements in technology, ensuring a seamless fit and functionality is crucial for your vehicle’s overall performance and user experience. Opting for genuine OEM (Original Equipment Manufacturer) parts or certified aftermarket alternatives specifically designed for Tesla models guarantees compatibility and reliability.
Many online retailers specialize in automotive body work and offer a wide range of Tesla touchscreen replacements. Some even provide step-by-step installation guides to assist DIY enthusiasts. Alternatively, professional auto glass replacement services can also be leveraged if a complete display unit needs to be installed. Remember, proper alignment and connection are vital for media control and app functionality. Car paint repair expertise is less relevant here, but it’s still important to ensure the new touchscreen complements your vehicle’s aesthetic appeal.
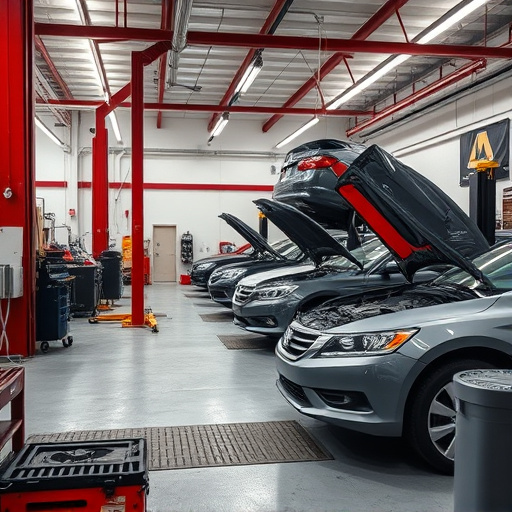
Step-by-Step Guide to Installation

Replace your Tesla’s touchscreen with this step-by-step guide, designed for even DIY enthusiasts. Start by gathering all necessary tools and components, including a replacement touchscreen, screws, and any other hardware specific to your vehicle model. Next, carefully power off and unplug your Tesla before removing the old screen—be mindful of any cables still connected. Use a suitable tool or suction cup to detach the screen from its mount, taking note of how it was secured.
Once the touchscreen is free, clean the dashboard area thoroughly to ensure proper adhesion for the new screen. Install the replacement by aligning it carefully with the existing mounts and securing it using the provided screws. Double-check all connections, ensuring a tight fit before reconnecting any cables or power sources. With precise handling and attention to detail, you’ll have your Tesla’s media and app controls up and running again, like new, leaving behind any inconvenience caused by a vehicle collision repair or luxury vehicle repair.
Restoring your Tesla’s functionality is easier than ever with a straightforward touchscreen replacement. By understanding common failure points, sourcing compatible parts, and following a simple installation guide, you can regain control over media and apps on your vehicle. With this DIY approach, you’ll be back on the road enjoying a seamless experience in no time.